Want a salon-quality lash look without the salon drama? Meet Nanolash Stick & Go Pre-Glued Lashes – the effortless upgrade that turns everyday lashes into occasion-ready in minutes. These press-on lashes take the stress out of lash styling: no separate glue, no mess, no panic. Whether you’re a beginner or a beauty pro, the Nanolash pre-glued lashes make flawless results fast and comfortable.
Why Self-Adhesive Lashes Are Causing a Stir
Traditional falsies can be tricky. The Nanolash self-adhesive lashes arrive with a perfectly measured, transparent glue layer already on the band, so there’s no guessing, no clumps, and no waiting for tackiness. That precision is why the pre-glued lash extensions sit smoothly and securely, making them perfect for last-minute plans, quick touch-ups, and everyday wear.
Nanolash Stick & Go Pre-Glued Lashes – What’s Inside?
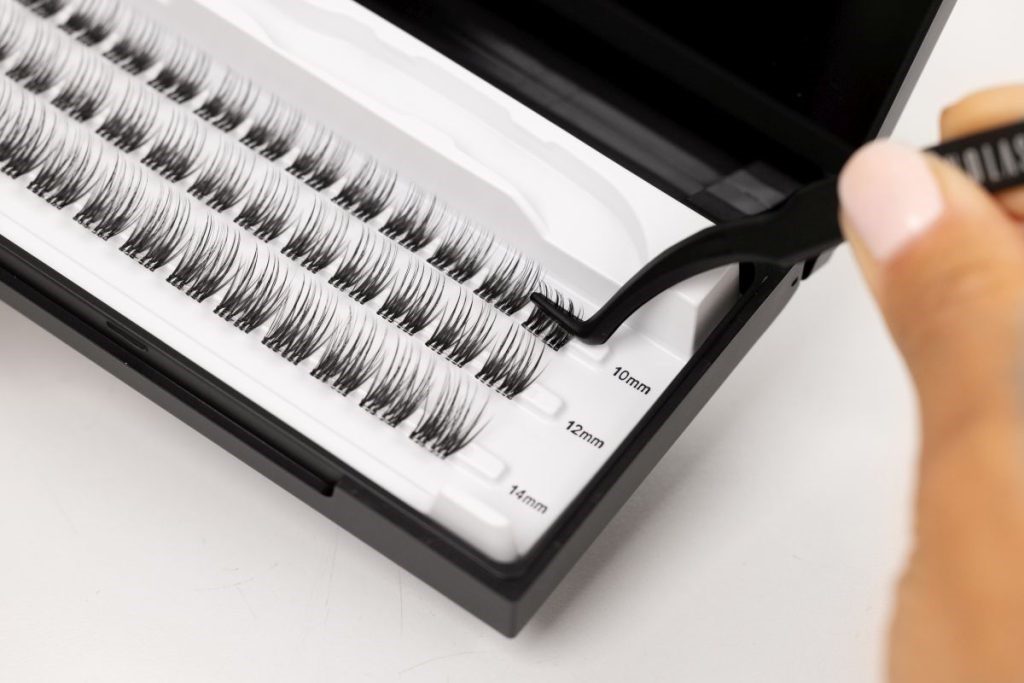
Inside the box, you’ll find 36 featherlight pre-glued lash clusters in 10, 12, and 14 mm. You can mix, layer, and use different lash lengths to sculpt anything from soft daytime lift to bold, party-ready volume.
The included ergonomic applicator tucks each lash segment under the natural lash line for an invisible finish. The result: seamless press-on lashes that look professionally blended without a salon visit.
Each ultra-thin, flexible band arrives pre-coated with a transparent adhesive. Just lift, place, and press. It’s the cleanest take on DIY lash extensions. One box is enough for about 4–6 full applications, making these press-on cluster lashes a smart and time-saving solution. The shape-retaining, deformation-resistant fibers ensure your pre-glued lashes keep their curl and feel featherlight for 3–5 days of wear. You can hoose from four distinct styles tailored to different vibes, available in classic black. Whether you’re after whisper-soft lash enhancement or statement glamour, these press-on pre-glued lashes have your dream lash look covered.
Applying Pre-Glued Lashes Step by Step
Applying press-on cluster lashes is easier than you may imagine:
- Lift a cluster using the applicator, gripping the segment – avoid touching the glue.
- Place beneath your natural lashes, about 2 mm from the waterline, starting at the outer corner and working inward.
- Clamp gently with the applicator to fuse natural and self-adhesive lashes for a seamless finish.
Press On Lashes – Common Mistakes And Easy Fixes
- Touching the adhesive: Oily fingers reduce grip. Always handle lash clusters by the tips or with the applicator.
- Applying the lashes too far from the lash line: This causes a visible gap. Reposition the lashes immediately before clamping them.
- Skipping prep: Clean and dry natural lashes ensure better adhesion and a long-lasting hold.
- Overcrowding the lash line: Too many lash segments look heavy. A few well-placed pre-glued cluster lashes will look natural yet full.
Nanolash Pre-Glued Cluster Lashes – Aftercare and Removal
The Nanolash Stick & Go press-on lashes can withstand your day-to-day life (and light, splashy moments). If they get wet, pat them dry – don’t rub-and let them air-dry. Skip hot water and blow-dryers; excess heat can weaken the pre-applied adhesive.
After wear, lift the press-on lashes from the outer corner and peel off slowly – no tugging. For removal residue on your natural lashes, a sweep of micellar water or eye makeup remover does the trick.

Nanolash Stick&Go Pre-Glued Lashes – Best Features
With the Nanolash pre-glued cluster lashes – you can achieve anything from subtle enhancement to full-on lash glam. Place shorter cluster lashes toward the inner corner, stack longer lengths outside, or alternate sizes for texture. With four curated lash designs, your DIY pre-glued lashes can be office-soft at 9 a.m. and party-bold by 9 p.m.
If you’ve ever wished for self-adhesive lashes that actually last, the Nanolash pre-glued lashes are your go-to!